Creating Fluid Art. A Step-by-Step Guide
Written and illustrated by Avyashi Agarwal, a grade 5 student
How do you create Fluid Art? here’s a great guide
Written and illustrated by Avyashi Agarwal, a grade 5 student
What is Fluid Art?
Paint pour, also known as fluid art, acrylic pour painting, or acrylic flow painting, is a painting method created by using acrylic paint to pour on a surface to create a flowing design
There are many ways of doing paint pour, but for this article, I have done the ‘Dirty Pour’ technique.
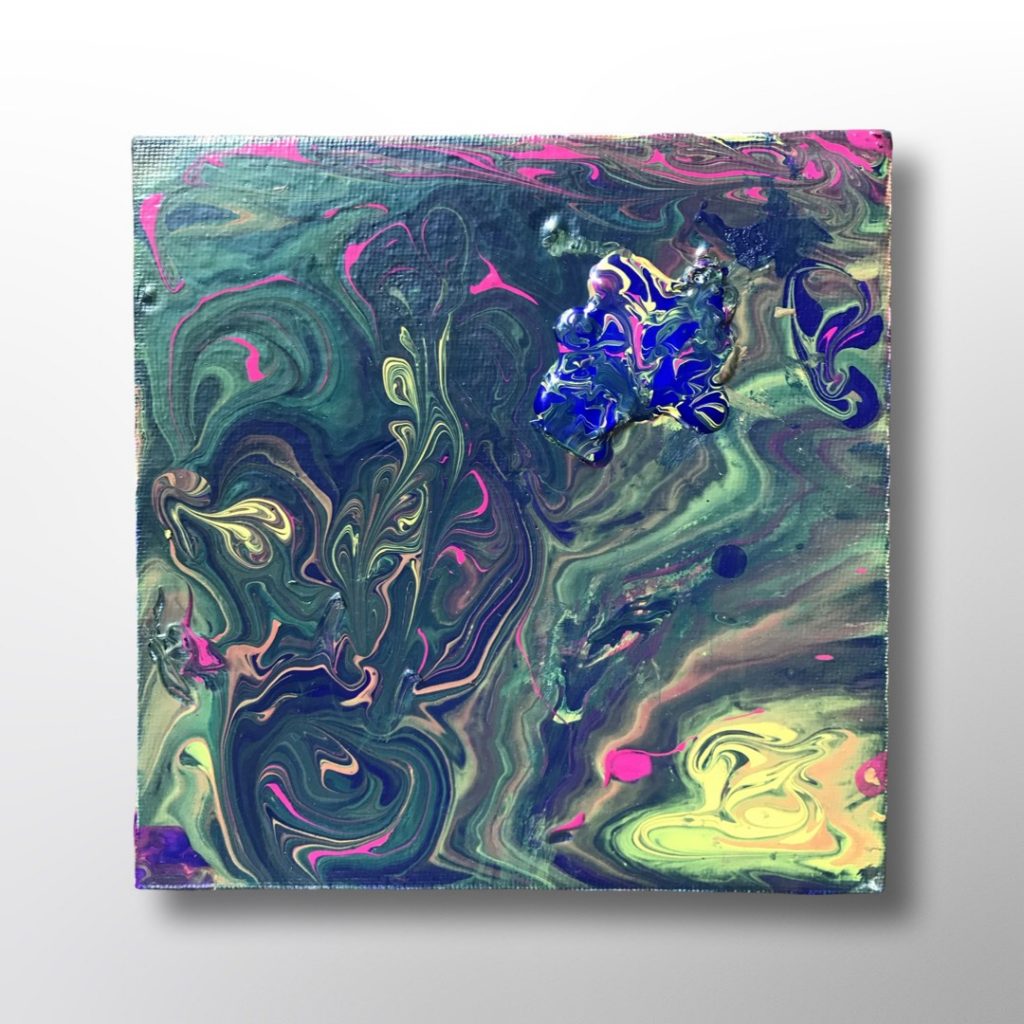
NOTE: Refer to the image to understand the process
What you need
* Canvas
* 3-4 different color Fluid Paints (fluid paints are thinned acrylic paints, you can also mix equal parts school glue and acrylic paint to substitute for fluid paint)
* A flat workspace
* A newspaper or any plastic table mat (to cover the workspace)
* A plastic/paper glass
The process
Tip: Cover your surface before starting so it doesn’t get dirty.
Step 1: Tilt your glass, and pour the paints in layers.
Tip: Use an adequate amount of paint, it shouldn’t be too much, but it shouldn’t be too less either, so use paint according to your canvas size.
Tip: Layer as much as you can, so that the final result is even more colorful and intricate.
Step 2: Once you’re done layering the paints in the glass, take the glass in your hand, and flip the canvas keeping it on top of the glass (front side making contact with the glass)
Tip: Make sure the glass is in the center of the canvas
Now hold the canvas and glass with both your hands and flip it again. This time when you flip, the front side of the canvas would have the glass put upside down on it.
Step 3: By holding the downside of the glass, lift it up from the canvas, you will now see the fluid paints on your canvas all in the middle.
Step 4: As the paint would be jumbled up together, take hold of the canvas from the edges and gently rotate it so that the paint covers the whole canvas.
Tip: If you have paint left in the glass, you can pour it anywhere on the canvas, where you think more paint is needed.
Tip: After making sure the paint has covered the whole canvas, put a hair dryer on a low temperature and move it above the whole painting. This helps to remove air bubbles.
Step 5: After this, keep it to dry in a non-disturbed area, as it can catch dust and air currents from a fan or AC.
Love art and want to share your tips too? We would love to hear from you! Submit your story here (if you have artwork, you can send it as an attachment to: administrator@ikidyounot.in)

Better Your Child’s G.K. In 3 Minutes – Get This Free Newsletter
Get fun facts, simple and easy news, quizzes, and lots of other interesting things to read in your mailbox – for free! It’s what we call GK-on-the-go!


Comments